


If you want to know how to install wallpaper, then this article is for you, at first this task may seem daunting, but with the right knowledge and tools, anyone can learn how to install wallpaper on their own in a child’s room and not only there!
Special for Dekornik, Kasia our graphic designer and founder of Dekornik interviewed a wallpaper installer. Thanks to her inquisitive questions, you will learn that wallpaper installation is not so scary.
What will we talk about?
In this interview, we will present a complete guide to help you wallpaper a room yourself, from preparing the walls to choosing and installing wallpaper.
How to install wallpaper – How do I prepare a wall for wallpapering?
Preparing the wall for wallpapering is key to achieving the perfect end result. Proper preparation includes removing old paint and wallpaper, levelling, and priming the surface. We’ll go over everything today, how to prepare a wall for wallpapering step by step to achieve the best result.

If you want to know how to install wallpaper, then this article is for you
Achieve a Perfectly Smooth Wall for Wallpapering with Our Step-by-Step Guide.
> Removing old paint and wallpaper
> Smoothing out cracks and cavities 3
> Priming the surface
Is it always necessary to remove old paint and wallpaper?
Removing old paint and wallpaper is necessary when the wall surface is uneven, covered with layers of paint or old wallpaper. Removing these layers will allow the new wallpaper to adhere better to the wall.
How do I remove wallpaper from a wall?
If you want to remove old wallpaper safely, you can use special preparations for removing old wallpaper or use a wallpaper steamer. Remember to protect the floor from getting dirty during the whole process.
Tell us how to level a wall for wallpaper?
Levelling cracks and cavities is an important step in preparing the wall for wallpapering, if you want to do it yourself you will need to use special joint compounds or drywall smoothers. Techniques for levelling cracks and cavities include:
> Removing loose fragments of plaster
> Applying joint compound or gypsum finish to cracks and cavities
> Levelling the surface with stopper or joint compound
> Sanding the levelled surface
Is there anything else I need to do after levelling the cracks in the wall?
Yes, before you start wallpapering the wall you need to prime the surfaces. The purpose of priming the surface before wallpapering is to strengthen the wall, to increase the adhesion of the paper wallpaper and to ensure that the adhesive spreads evenly.
To properly prime the wall, use a special primer that can be applied with a roller or paint brush. Once the primer has dried, the wall is ready for wallpapering.

How long do I have to wait between painting the walls and hanging the wallpaper?
Dekornik wallcoverings are ‘breathable’. This means that you don’t have to wait a month for the wall to dry completely. A week is quite enough.
What kind of tools do I need to do my own wallpapering?
The most important thing is the right glue for non-woven wallpaper! 😊 We have put up hundreds of wallpapers and we always recommend one type of wallpaper glue – the liquid ones, not the powder ones. You can buy them in any DIY store, in buckets that look like paint. The packaging of the wallpaper glue always states the amount of glue, and this is something to look out for to make sure you have enough.
Is any wallpaper glue good?
Not all, check before you buy if it says on the packaging: glue for fleece or paper wallpaper. I’m going to repeat myself, but I wouldn’t recommend powdered glues because you have to mix them very well with water 😊.

And are you going to tell me how to stick paper wallpaper technically?
That’s what I say: start by applying an even layer of glue to one side of the wallpaper, using a roller or brush. Make sure you cover the whole surface of the wallpaper – in our case it’s a strip of wallpaper.
How to cut the wallpaper and help me with the materials?
Of course, start with the materials: If you want cut the wallpaper you need a knife, but not the kind you use in the kitchen, a paper knife, that’s the best!

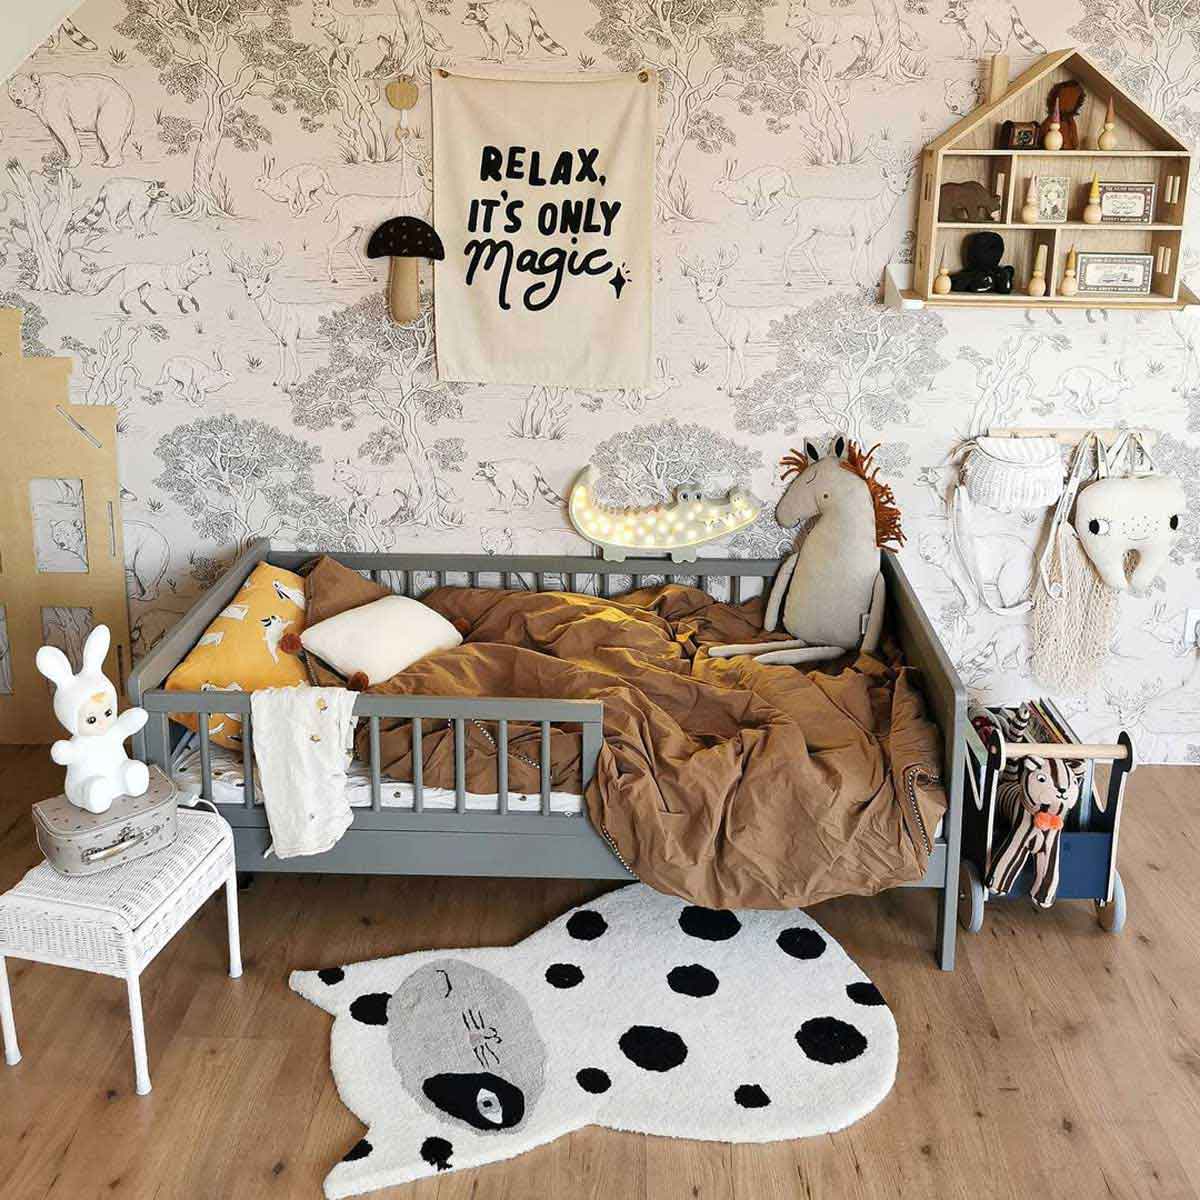
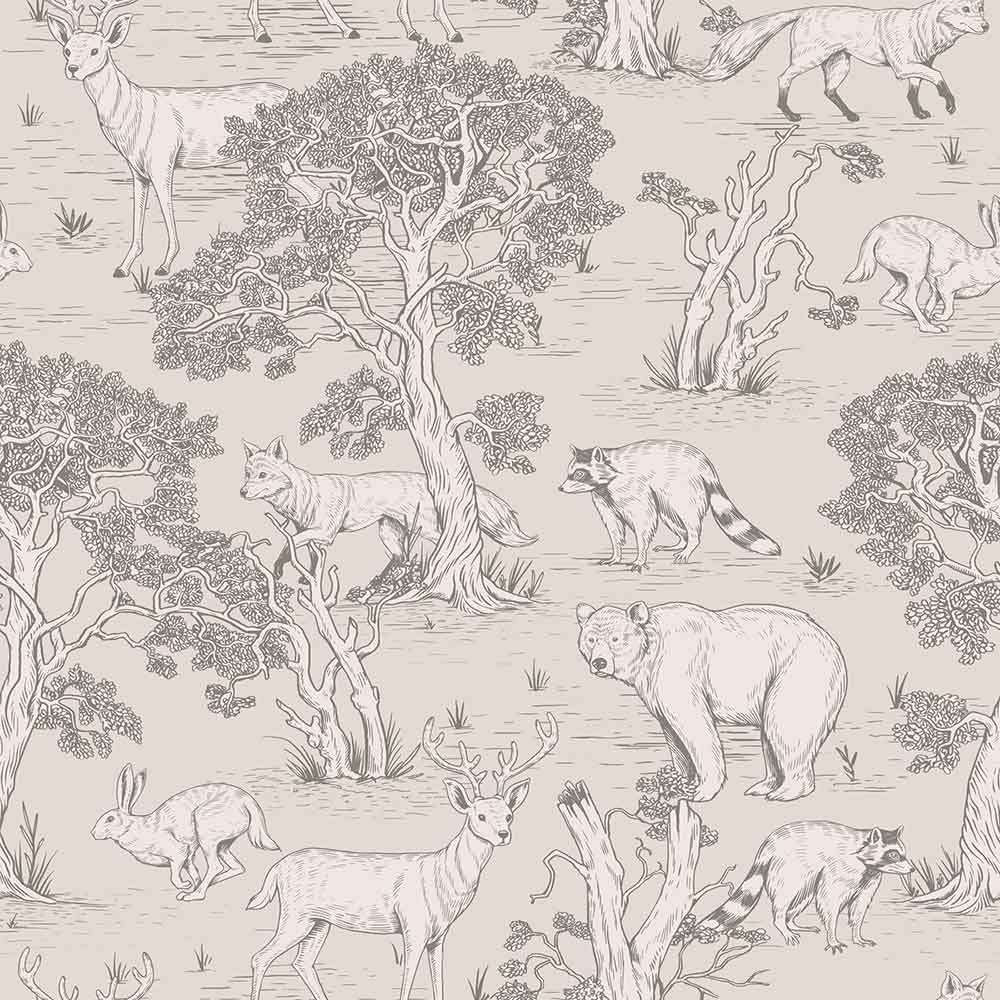
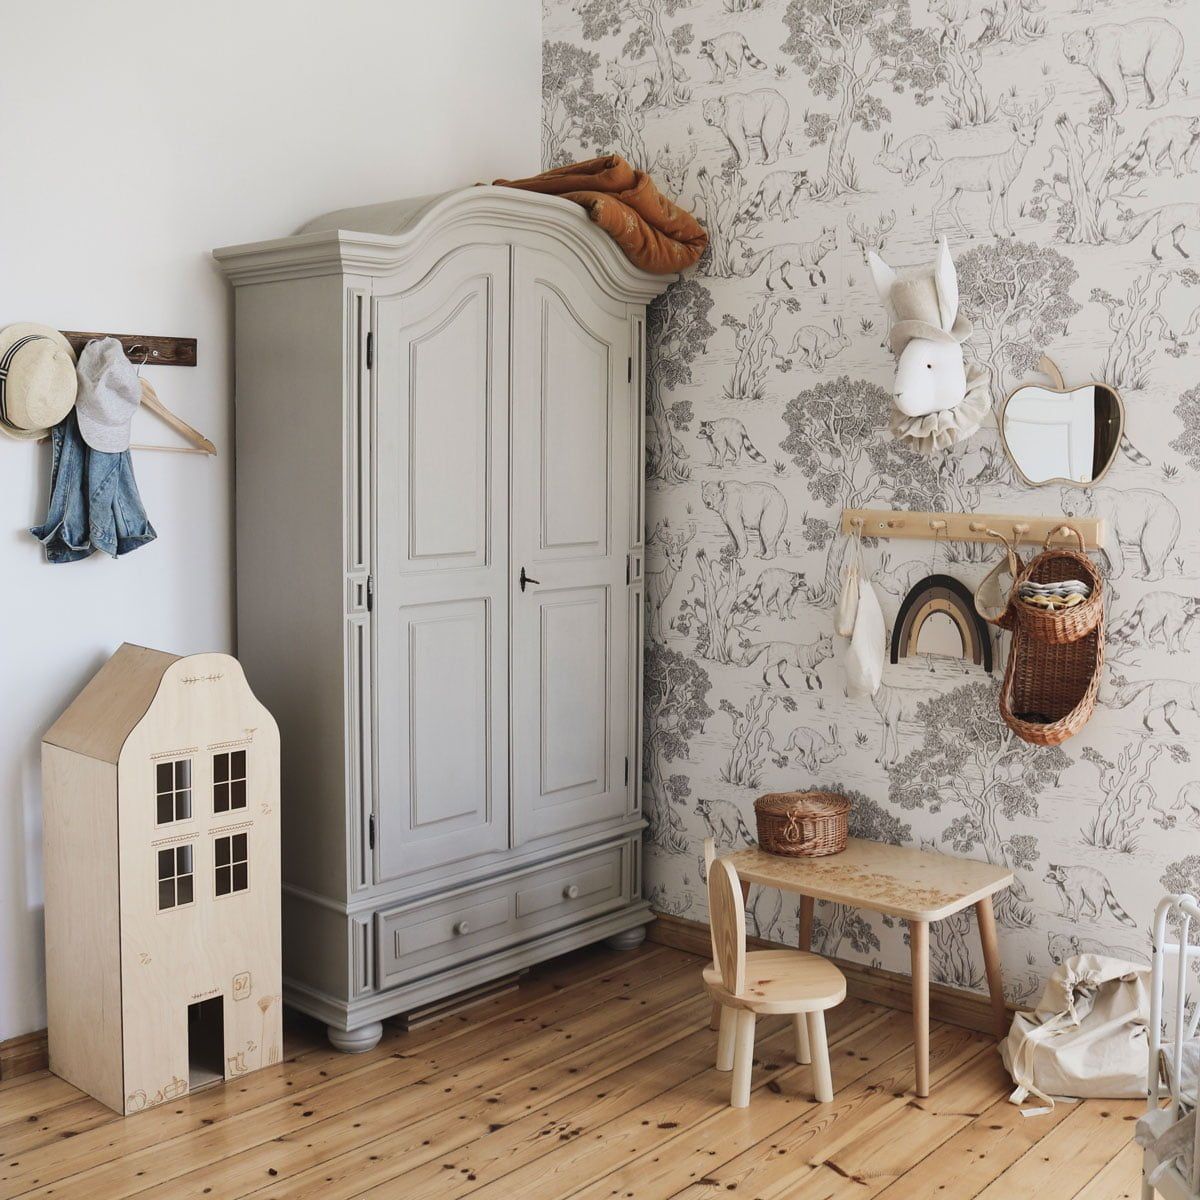
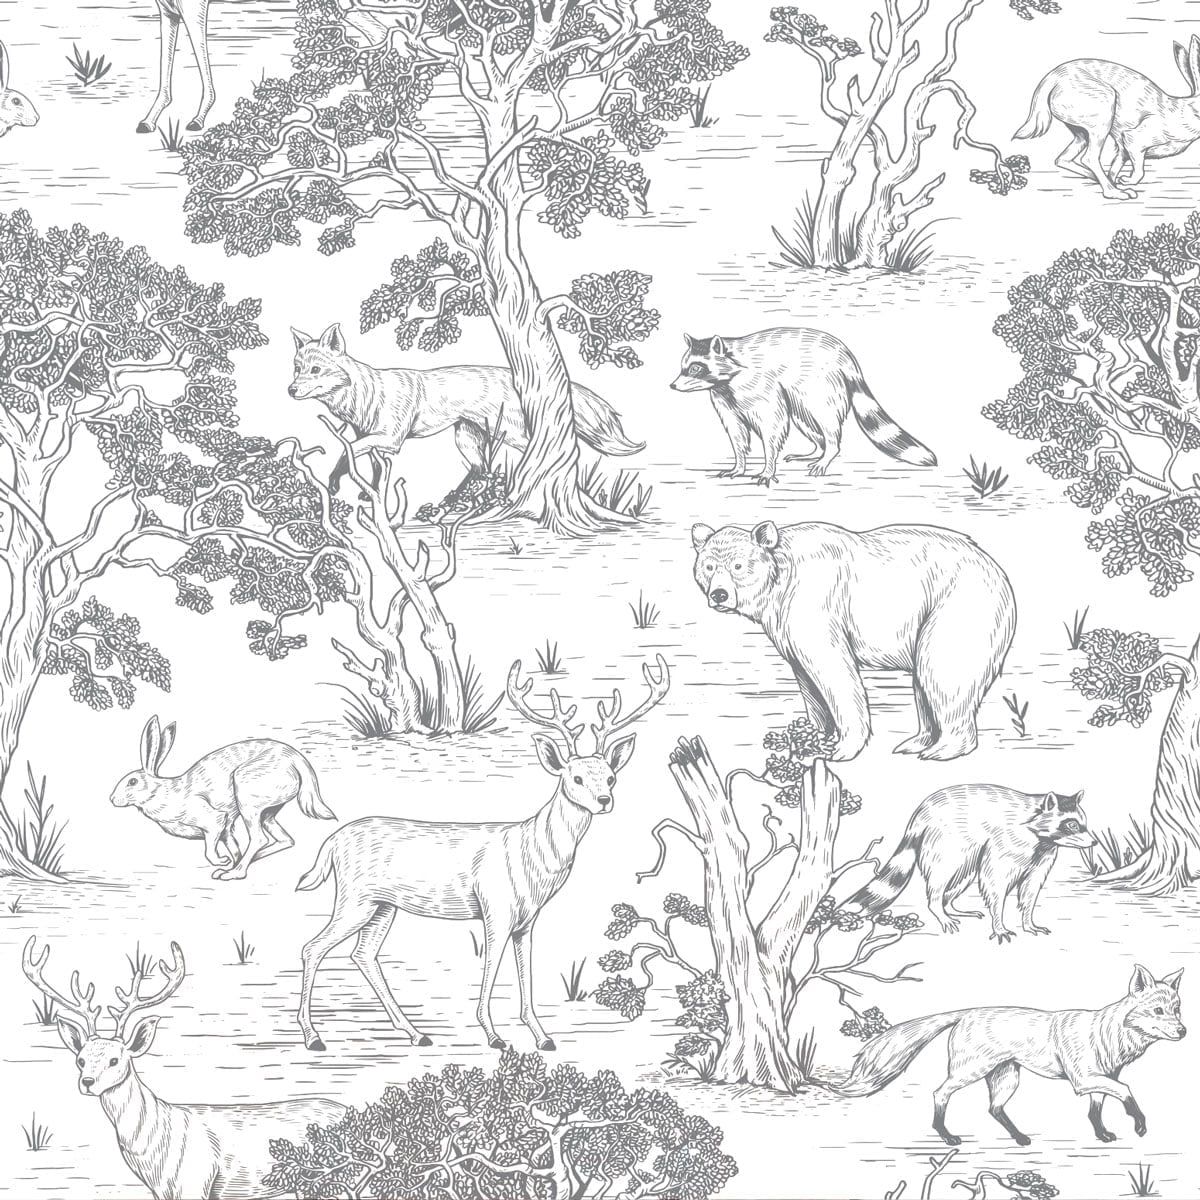
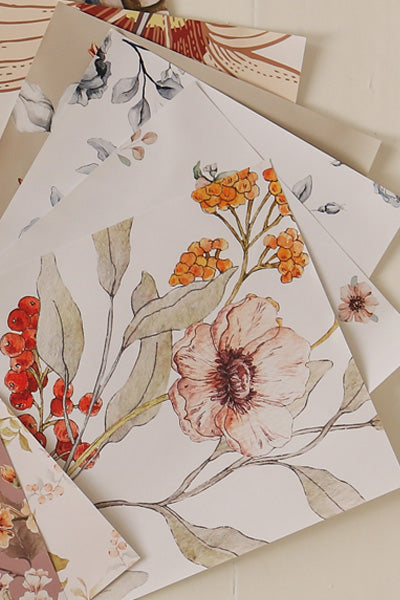
Photo: Savanna wallpaper by Dekornik
And what other materials, do I need for wallpapering?
A paint roller and a brush (3-5 cm wide) are useful. And don’t forget the paper towels, which are almost indispensable. I would also add: a ladder or a chair, whatever you prefer.
I understand that you can get all these tools in any DIY store?
Yes, you can get everything easily.
We bought the tools, the package with the wallpaper from Dekornik came beautifully packaged, it’s a shame to unpack it….
I recommend unpacking the wallpaper and spreading it out on the floor.
Why do I need to unpack my wallpaper quickly?
You should check everything, now i will tell you how to check the wallpaper yourself. When you take the strips of wallpaper out of the box, you have to find the top edge of the wallpaper.
This is not an easy task, because with dense floral patterns it’s easy to make a mistake, especially if you don’t look at all the strips from top to bottom!

Well, I was about to ask, how do you lay out wallpaper with a pattern before you hang it?
If you have ordered wallpaper with a repeating pattern on each stripe (and we have 98% of such in Dekornik ), the matter is simple.

We start installing the wallpaper by laying it out on the floor, checking that the patterns match and visualising how it will look on the wall.
What should I do when the wallpaper I’ve chosen has different patterns on the stripes because that’s the model?
Good question, such a case is our bestseller beautiful wallpaper: Savanna Before applying it on the wall, we have to match this pattern on the floor.
We check if the pattern transitions nicely from one strip to the other. If it does, you can roll the strips back together, remembering to keep the order of course – you can sign the strips with a pencil for ease.

And isn’t this kind of unfolding and rolling of wallpaper a risk of crumpling or damaging it?
Dekornik wallpapers are made of thick, robust material. Therefore, even if you slightly crease them, e.g. the corners of the wallpaper, there will be no trace of this once it has been applied.
ONE IS IMPORTANT: don’t lay paper wallpaper on a dirty floor, especially after a renovation! It’s worth washing the floor first, cleaning it thoroughly and drying it with the paper towel mentioned. This is so that the new wallpaper doesn’t get dirty or have flecks sticking to it, especially if the wallpaper is already coated on one side with glue….
Do you have any advice for the end?
Hanging wallpaper is a bit like the first dance – you need to know where to place your steps, who to dance with, and be ready for surprises! The most important thing to remember is to carefully prepare the wall.
And if it doesn’t turn out perfectly the first time, you can always trim and patch the wallpaper. Moreover, if you’re not entirely confident in your skills, start from a less visible spot, like behind a wardrobe :)
Kasia discussed how to lay wallpaper on her own with Decornik’s installer.